This is the second of a new series of posts on ASP .NET Core. In the past week, I had the opportunity to participate in a hackfest with several colleagues from across the globe, to work on real-life customer projects. I took a break from my primary project to help a colleague with a simple problem: upload a file from a web browser and save it into Azure Blob Storage within an ASP .NET Core web application!

Before you begin
Before you begin, make sure you sign in to Azure, create a storage account and make a note of the storage connection information.
Refer to:
- Create a Storage Account: https://docs.microsoft.com/en-us/azure/storage/common/storage-quickstart-create-account
- Storage Accounts with .NET: https://docs.microsoft.com/en-us/azure/storage/blobs/storage-quickstart-blobs-dotnet
“Show me the code!”
Fortunately, I packaged everything nicely as a simple web app project, uploaded into Github and added instructions on how you can use it right away.
![]() Get it here: https://github.com/shahedc/SimpleUpload
Get it here: https://github.com/shahedc/SimpleUpload
I tested it in Visual Studio 2017 v15.8.6 and Visual Studio Code, so either should work for you.
What does it do?
To summarize what the code does, here’s a step-by-step explanation:
- Upload a file submitted in a web browser via HTTP POST.
- *Convert the file to a byte array.
- Save the file data to Azure Blob Storage.
To do all of the above, I referred to a YouTube video, various blog posts and the official Microsoft docs. I have included the list of references in the Readme page of the Github project.
* NOTE: After I published this blog post, I got some helpful feedback from a couple of readers via Twitter, so I updated the code with some suggested improvements.
Feedback from oferns: “I left you a comment. You don’t need to convert to a byte array. You can pass the upload stream directly to the client using UploadFromStreamAsync”
I left you a comment. You don't need to convert to a byte array. You can pass the upload stream directly to the client using UploadFromStreamAsync
— oferns (@oferns) October 14, 2018
Feedback from AntonGoretsky: “Temp array can cause LOH fragmentation”
Temp array can cause LOH fragmentation
— Anton Goretsky (@AntonGoretsky) October 14, 2018
In response to the above feedback, I’ve added a second option to use the Stream from the FormFile data directly, without converting to a byte array first. This allows me to use CloudBlockBlob.UploadFromStreamAsync() instead of UploadFromByteArrayAsync().
Ok, but what does it REALLY do?
Let’s take a deeper look at the code.
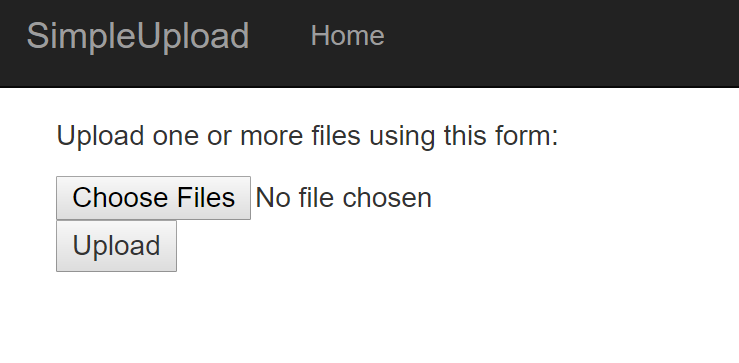
1. The Index view under the Home controller displays one input field for selecting files for upload, and a submit button to complete the upload process.
Here’s a snippet:
<form enctype="multipart/form-data" method="post">
...
   <input multiple="multiple" name="files" type="file" />
...
   <input type="submit" value="Upload" />
...
</form>
2. Next, the Post method of the Home controller handles the uploaded file. It’s set up to loop through multiple uploaded files, and upload each file separately. Updated from the original blog post, there are now two options.
- Option A: convert to byte array before upload
- Option B: read directly from stream for blob upload
The UploadToBlob() method still takes in the filename. But now, it can take either take in the byte array or the stream of data from the uploaded file. If one of them is set to null, the other will be used. If both are null, the method will return false.
// NOTE: uncomment either OPTION A or OPTION B to use one approach over another

// OPTION A: convert to byte array before upload
//using (var ms = new MemoryStream())
//{
// formFile.CopyTo(ms);
// var fileBytes = ms.ToArray();
// uploadSuccess = await UploadToBlob(formFile.FileName, fileBytes, null);

//}

// OPTION B: read directly from stream for blob upload
using (var stream = formFile.OpenReadStream())
{
 uploadSuccess = await UploadToBlob(formFile.FileName, null, stream);
}
You could change the code to upload them all to the same container, but that is up to you.
3. Finally, the UploadToBlob() method in the Home controller uploads the image data to a storage container in three stages: create a CloudBlobClient object to represent the storage account, create a container within that storage account and sets its permissions, upload the image data.
CloudBlobClient cloudBlobClient = storageAccount.CreateCloudBlobClient();

...
cloudBlobContainer = cloudBlobClient.GetContainerReference("uploadblob" + Guid.NewGuid().ToString());
await cloudBlobContainer.CreateAsync();

...
BlobContainerPermissions permissions = new BlobContainerPermissions
{
   PublicAccess = BlobContainerPublicAccessType.Blob
};
await cloudBlobContainer.SetPermissionsAsync(permissions);

...
CloudBlockBlob cloudBlockBlob = cloudBlobContainer.GetBlockBlobReference(filename);

if (imageBuffer != null)
{
   // OPTION A: use imageBuffer (converted from memory stream)
   await cloudBlockBlob.UploadFromByteArrayAsync(imageBuffer, 0, imageBuffer.Length);
}
else if (stream != null)
{
   // OPTION B: pass in memory stream directly
   await cloudBlockBlob.UploadFromStreamAsync(stream);
} else
{
   return false;
}

return true;
For obvious security reasons, the connection string for the storage connection is kept in a config file that is not included in the Github repo. Instead there is a placeholder config file that can be renamed and updated to refer to any storage account that you own.
From the Readme file, the instructions are:
- Rename placeholder config file “appsettings.Development.txt” to “appsettings.Development.json”
- Replace placeholder string “<REPLACE_CONN_STRING>” with your Azure Storage Account connection string.
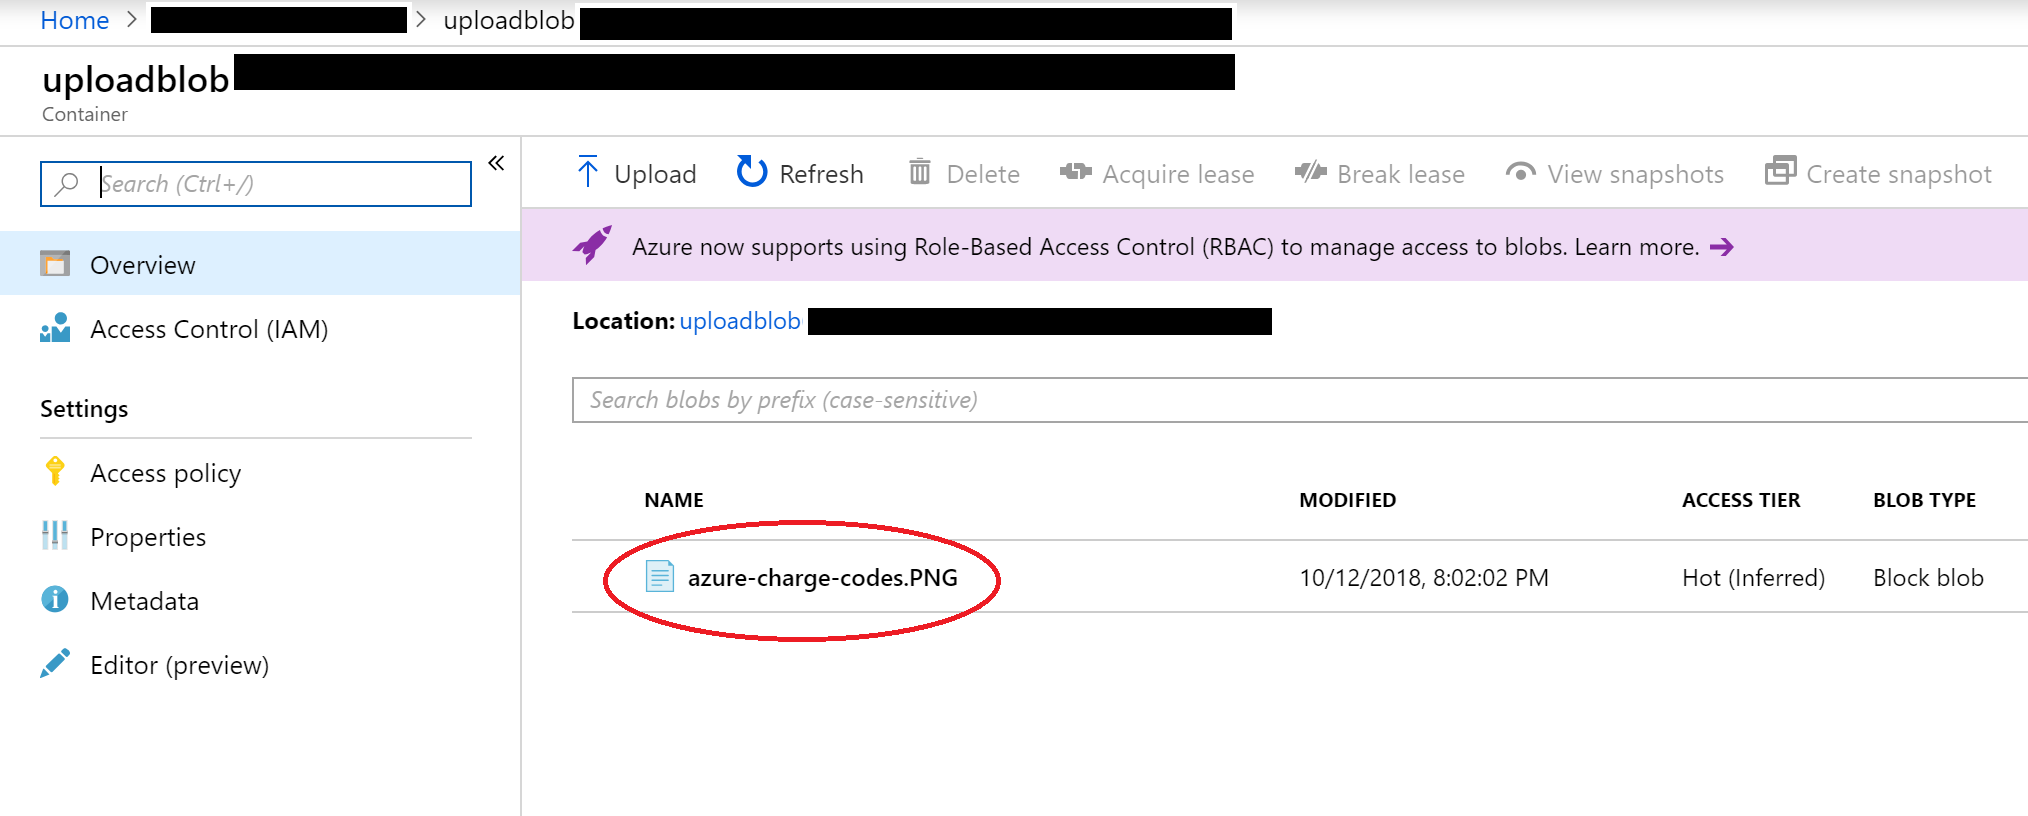
Check your work
Check your Azure account via the portal to ensure that the designated containers have the file(s) you uploaded.
References
As mentioned in the Readme file, here are the references I used to put together the above sample.
- ASP .NET Core File Upload with Form POST: https://www.youtube.com/watch?v=dZFucw0Vq9w
- Convert file to byte array: https://stackoverflow.com/questions/36432028/how-to-convert-a-file-into-byte-array-directly-without-its-pathwithout-saving-f
- How to access config from Controller: https://blogs.technet.microsoft.com/dariuszporowski/tip-of-the-week-how-to-access-configuration-from-controller-in-asp-net-core-2-0/
- Docs article on using .NET to create a blob in object storage: https://docs.microsoft.com/en-us/azure/storage/blobs/storage-quickstart-blobs-dotnet?tabs=windows
- Github repo for blob access with .NET : https://github.com/Azure-Samples/storage-blobs-dotnet-quickstart
- Using Azure Storage in ASP .NET Core: https://wildermuth.com/2017/10/19/Using-Azure-Storage-in-ASP-NET-Core
- Docs on UploadFromByteArrayAsync: https://docs.microsoft.com/en-us/dotnet/api/microsoft.windowsazure.storage.blob.cloudblockblob.uploadfrombytearrayasync?view=azure-dotnet
- Docs on UploadFromStreamAsync: https://docs.microsoft.com/en-us/dotnet/api/microsoft.windowsazure.storage.blob.cloudblockblob.uploadfromstreamasync?view=azure-dotnet
You can stream it directly using UploadFromStreamAsync. You dont need to convert to a byte array
That’s correct, thanks for sharing!
Pingback: Dew Drop - October 15, 2018 (#2823) - Morning Dew
Thanks for the post, very helpful. The only thing I get lost on is how to do this from inside a form, where that data is being posted to a different method than the one handling the upload, or using a different view model. Basically, I’m trying to first upload an image and then saving the link generated to a field in the table the form is populating on post, any guidance on how to do that?
If you can upload a code sample of what you have so far, I can take a look.
Pingback: JavaScript, CSS, HTML & Other Static Files in ASP .NET Core | Wake Up And Code!
Excellent code thanks for sharing a question like uploading a file by chunks?
Glad you enjoyed it. For larger files, you can try a streaming approach. Check out the section “Uploading large files with streaming” in the following docs article: “File uploads in ASP.NET Core”
https://docs.microsoft.com/en-us/aspnet/core/mvc/models/file-uploads#uploading-large-files-with-streaming
Thank you so much for sharing this! I found it really helpful 🙂
Thanks for reading!