WARNING: To avoid personal injury or damage to objects around you, I would suggest flying drones in outdoor open areas, preferably in an open field with little to no wind. It goes without saying that you should not fly drones in restricted areas, or record video/pictures of others without their consent.
Introduction
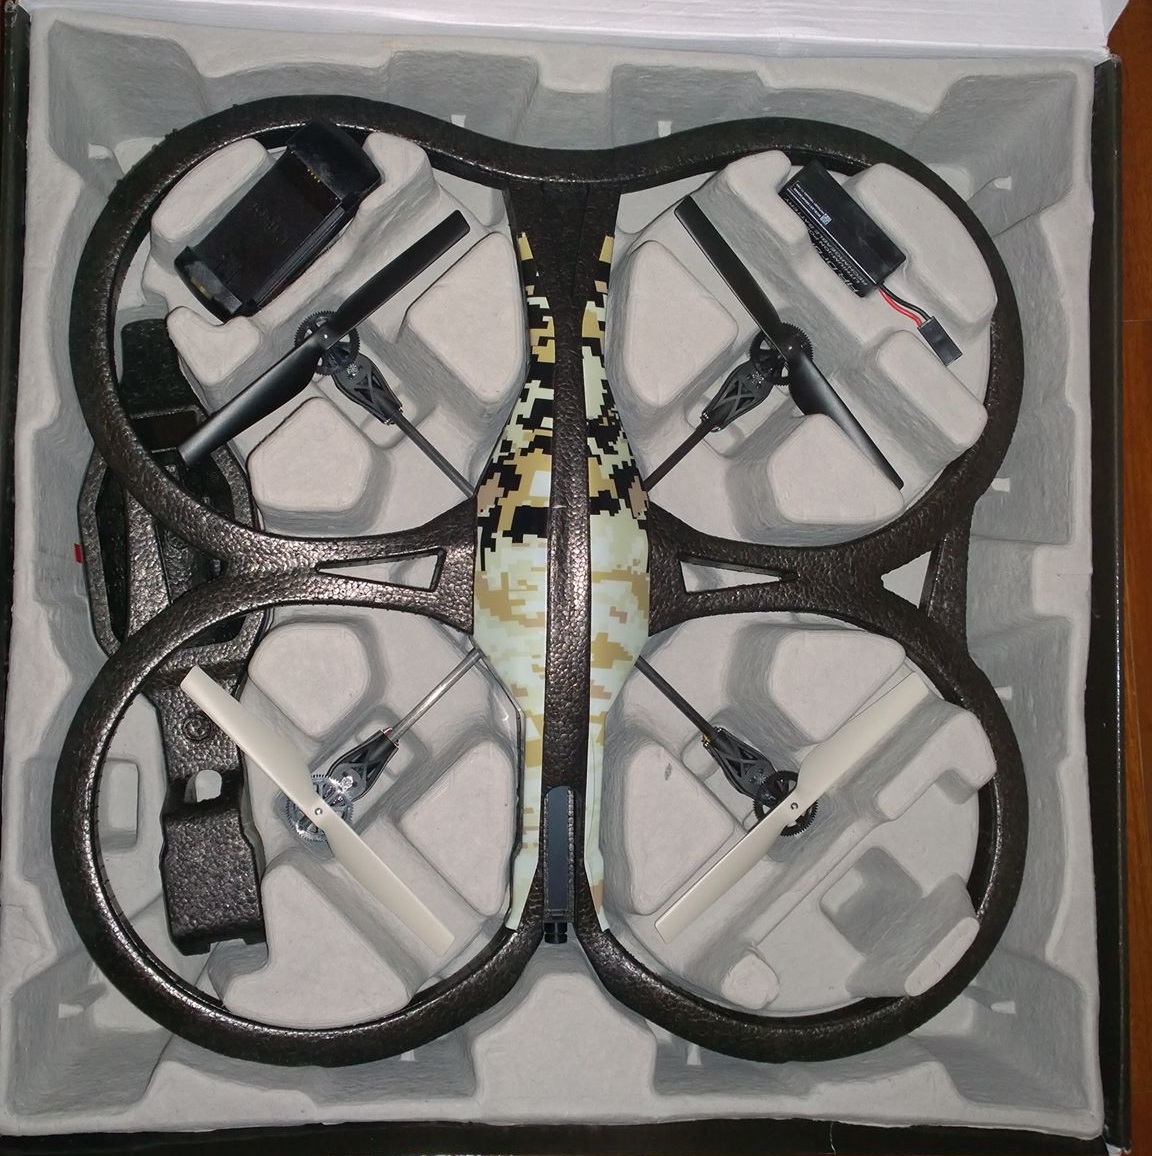
I recently started playing around with an AR Drone 2.0 by Parrot. There is a companion app available on iOS, Android and Windows 8. But I really wanted to use my Xbox controller for better control, and also tweak the app to make improvements and add functionality.
Getting Started
Like any efficient software developer, I set out to look for some existing code out there, so that I could tinker with it and build upon it. I found the source code for a Windows Store app on Github:
- Source code on Github: https://github.com/ARDrone2Windows/SDK
The last update to this repo was Summer 2013 (about 2 years ago, as of this blog post), so I wasn’t sure if the code would work on my current machines. It turns out that the store app was built for Windows 8, before the Windows 8.1 update.
I tried it out on 2 devices:
- Laptop running Windows 8.1, Visual Studio Premium 2013
- Surface Pro 3 running Windows 10 Tech Preview, Visual Studio 2013 Community Edition
On both machines, I was able to run the app and fly the drone. I would recommend updating the Windows 8 store app projects to retarget Windows 8.1. This can be done by right-clicking any 8.0 store app project and then choosing the “Retarget…” option.
- More info on retargeting: https://msdn.microsoft.com/en-us/library/windows/apps/dn263114.aspx
I also enabled Nuget package restore, and updated my Nuget packages for the solution. If you’re unfamiliar with this option in Visual Studio, read the “Package Restore Consent” section in the following documentation:
- Package Restore on Nuget docs: https://docs.nuget.org/consume/package-restore
I used a wired Xbox 360 controller for my tests. Note that you cannot use a wireless Xbox 360 controller, with a play-and-charge cable, since it doesn’t support enough bandwidth for both power and data. I also connected an Xbox One controller with a standard USB charging cable (obtained from the Xbox One Play and Charge Kit), and verified that the app recognized the wireless Xbox One controller as well.
Up, Up and Away
To run the app and connect to the drone, you should go through the following steps:
- Insert fully-charged battery into drone.
- Place drone on the ground in an open area.
- Connect Windows laptop/tablet to drone’s internal wifi.
- Download the source code from the GitHub repo mentioned above.
- Open the “ArDrone2 solution, and dismiss any popups asking about Source Control.
- (Optional) Update Windows 8 projects to Windows 8.1. (This will run on Windows 10)
- Enable Nuget Package Restore, then Build Solution (F6 on Visual Studio)
- Ensure that “ARDrone2.Sample.W8” is set as Startup Project.
- Connect an Xbox controller, then Run the program (F5 on Visual Studio).
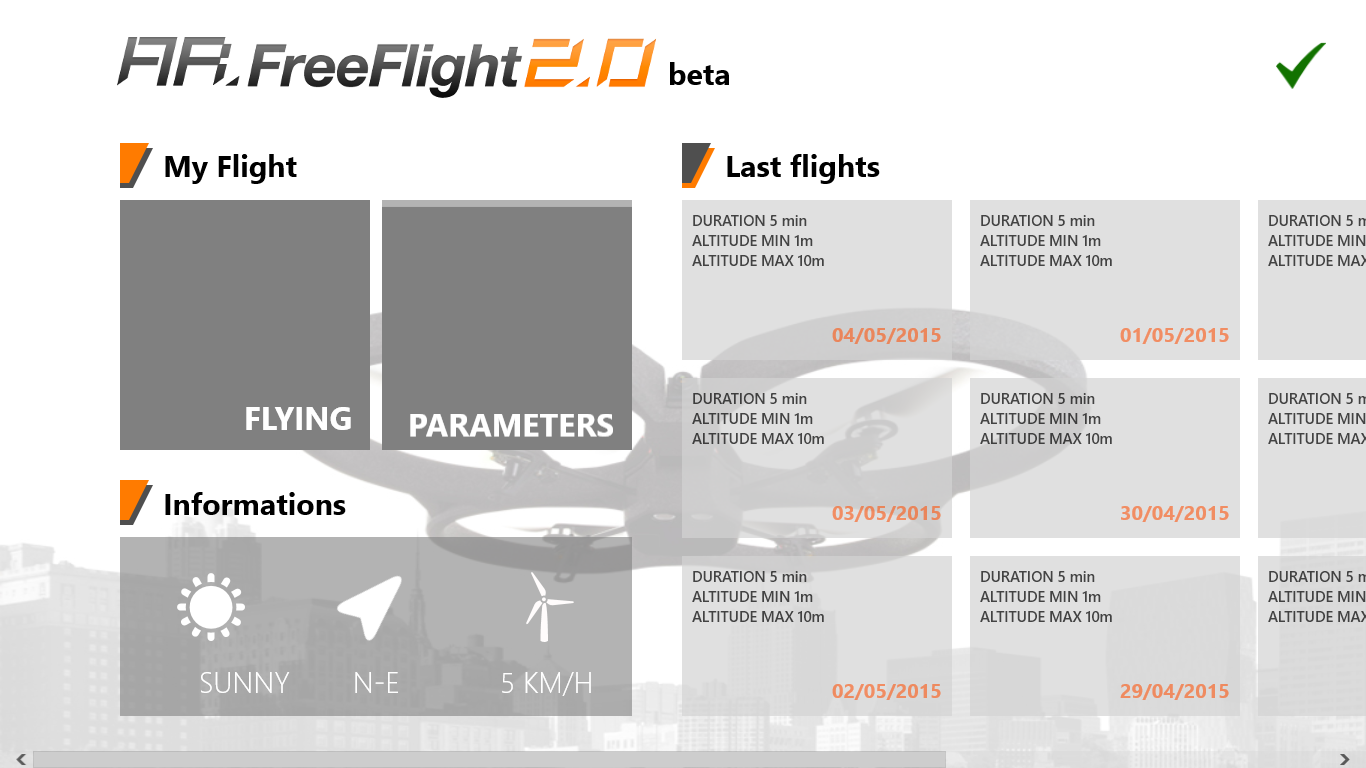
- Verify that a green check mark appears on the top right area within the app.
Once the app is running and connected, you can start flying right away!
- Click the Flying tile on the left side of the app.
- On the controller, click the Start button (Menu button on Xbox One controller).
- Use the left thumbstick to lunge forward/backward or strafe left/right.
- Use the right thumbstick to rise/fall up or down or rotate left/right.
- If you’re low to the ground, use the Back button (View button on Xbox One controller) to drop immediately.

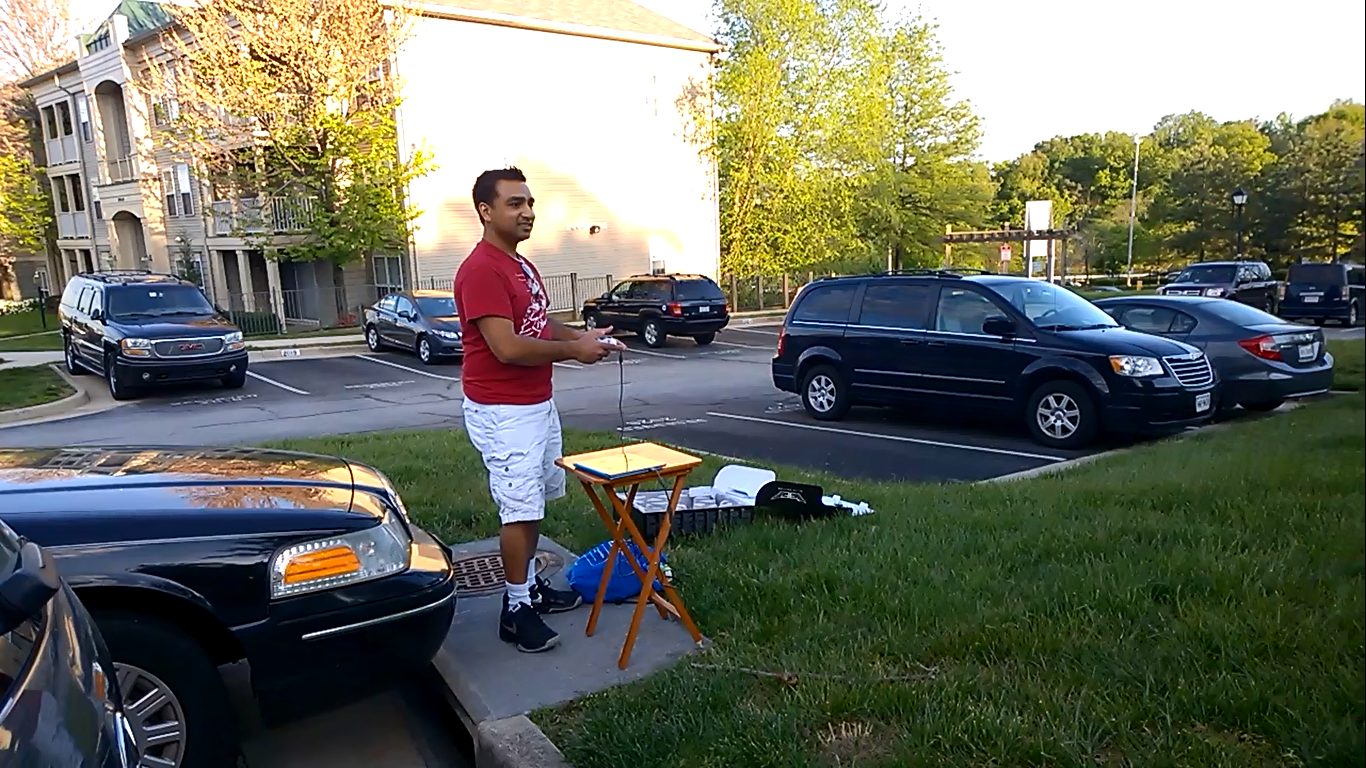
Controlling the drone with a wired Xbox 360 controller connected to a Surface Pro 3 tablet

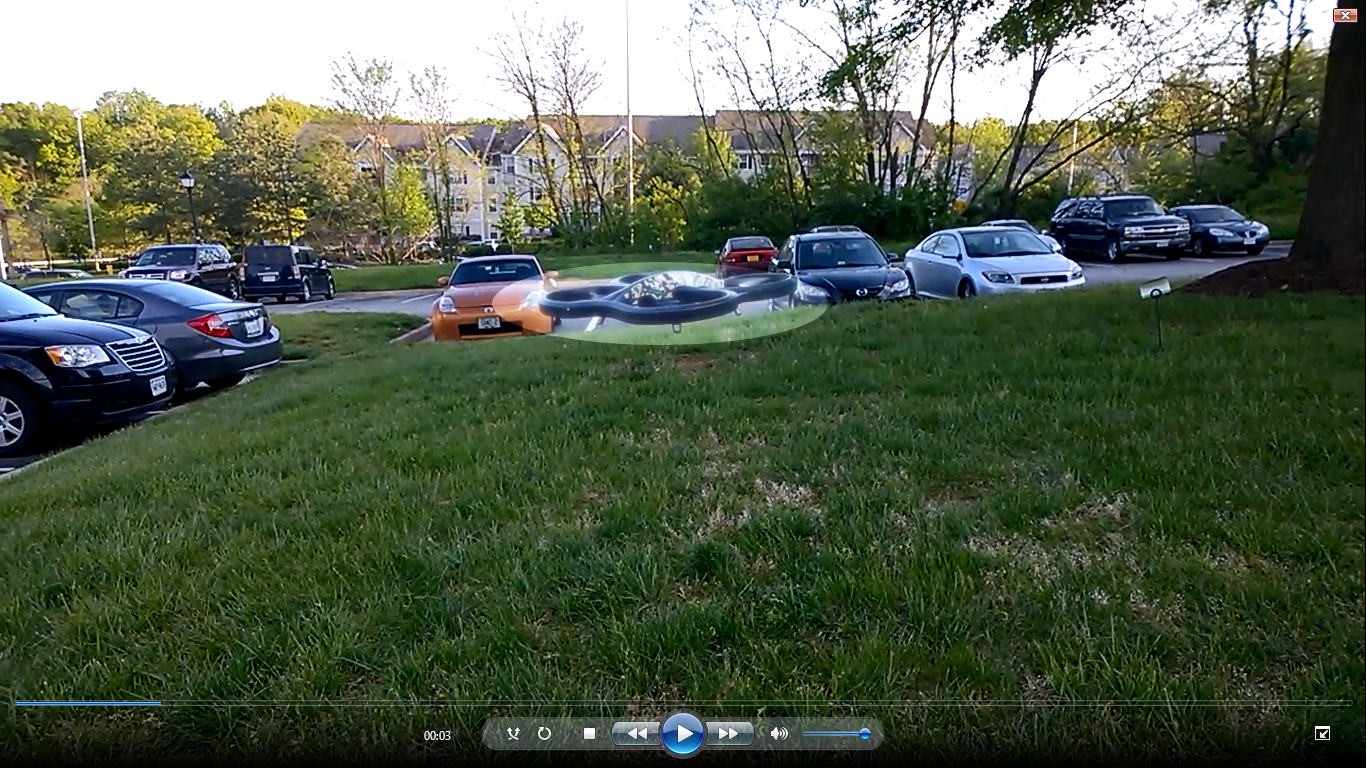
The drone in flight (see glowing elliptical region)
For a video clip of the flying drone, check out this short clip that my nephew captured of me flying the drone with an Xbox 360 controller:
- On YouTube: http://youtu.be/CRrl7FZfnC0
Next Steps
I tried clicking the picture icon (or clicking A) on the controller to trigger a picture, but couldn’t get the picture functionality to work with the Windows app, built from the GitHub source code.
NOTE: The official app on the Windows Store appears almost identical to the GitHub project, but it was updated as recently as March 2015. Also, the photo feature appears to work without any issues, in the official app. I inserted a USB stick and was able to capture photos from the drone using the app that I downloaded from the Windows Store.
But this blog post is about the source code found on GitHub. So, I’ll continue to tinker with it…
The GitHub page for the aforementioned project does have a discussion thread about the TakePicture() method, but the suggested solution (USB stick + FTP access) didn’t work for me. I didn’t get any error message, but I didn’t see any pictures being captured on my machine or on a USB stick connected to the drone.
So, my next step is to troubleshoot the picture-taking feature, and possibly write my own routines.
As an alternative, I did try some standard methods of capturing a screenshot. by using RenderTargetBitmap. For more info, read the following tutorial:
- Render the screen… to a bitmap: http://mariusbancila.ro/blog/2013/11/05/render-the-screen-of-a-windows-store-app-to-a-bitmap-in-windows-8-1/
However, I ran into issues while trying to capture the viewport of the drone’s built-in camera, which is represented by a MediaElement tag in the XAML markup. My code was able to capture a screenshot of the app’s window, but ignored the camera’s view. Apparently, this is a known limitation of RenderTargetBitmap.
- Limitations of RenderTargetBitmap: https://msdn.microsoft.com/en-us/library/windows/apps/dn298556.aspx
From the MSDN documentation in the above URL, “Video content in a MediaElement or CaptureElement can’t be captured using RenderTargetBitmap. That includes capturing frames from within video content.”
Some older discussion threads talk about a Render() method that can be used to capture a snapshot of a MediaElement. However, this Render() method is in a namespace called “Namespace: System.Windows.Media.Imaging”, which is in an Assembly called PresentationCore (in PresentationCore.dll). I performed a quick search for this assembly on my machine, and only found it in a Windows.old folder, so it is no longer in use by newer versions of Windows.


Pingback: Dew Drop – May 5, 2015 (#2007) | Morning Dew