This is the fourth of a new series of posts on ASP .NET Core for 2019. In this series, we’ll cover 26 topics over a span of 26 weeks from January through June 2019, titled A-Z of ASP .NET Core!
 A – Z of ASP .NET Core!
In this Article:
- D is for Deploying to Azure App Service
- Right-Click Publish (aka…)
- Web Apps in the Azure Portal
- Runtime Options
- Deployment Center
- GitHub Repos
- CLI Commands
- References
Before you begin, make sure you sign in to Azure, or create a new trial account first to follow along.
D is for Deploying to Azure App Service
In this article, we’ll explore several options for deploying an ASP .NET Core web app to Azure App Service in the cloud. From the infamous Right-Click-Publish to fully automated CI/CD, you’ll learn about the latest Deployment Center option in the Azure Portal for App Service for web apps.
NOTE: If you’re looking for information on deploying to Docker or Kubernetes, please check out the following docs instead:
- Host and deploy ASP.NET Core: https://docs.microsoft.com/en-us/aspnet/core/host-and-deploy
- Deploy to Azure Kubernetes Service: https://docs.microsoft.com/en-us/azure/devops-project/azure-devops-project-aks
- Host ASP.NET Core in Docker containers: https://docs.microsoft.com/en-us/aspnet/core/host-and-deploy/docker
- Dockerize a .NET Core application: https://docs.docker.com/engine/examples/dotnetcore/
Right-Click Publish (aka Friends Don’t Let Friends Right-Click Publish)
If you’ve made it this far, you may be thinking one of the following:
a. “Hey, this is how I deploy my web apps right now!”
or
b. “Hey wait a minute, I’ve heard that you should never do this!”
Well, there is a time and place for right-click publish. There have been many debates on this, so I won’t go into the details, but here are some resources for you to see what others are saying:
- [MSDN] When should you right click publish: https://blogs.msdn.microsoft.com/webdev/2018/11/09/when-should-you-right-click-publish/
- Friends don’t let friends right-click publish [by Damian Brady]: https://damianbrady.com.au/2018/02/01/friends-dont-let-friends-right-click-publish/
- In the wild [by Geoffrey Huntley]: https://rightclickpublish.com/
Tweet from Geoffrey Huntley: https://twitter.com/GeoffreyHuntley/status/994345821276536832
https://twitter.com/GeoffreyHuntley/status/994345821276536832
So, what’s a web developer to do? To quote from the aforementioned MSDN article, “Continuing with the theme of prototyping and experimenting, right click publish is the perfect way for existing Visual Studio customers to evaluate Azure App Service (PAAS). By following the right click publish flow you get the opportunity to provision new instances in Azure and publish your application to them without leaving Visual Studio:”
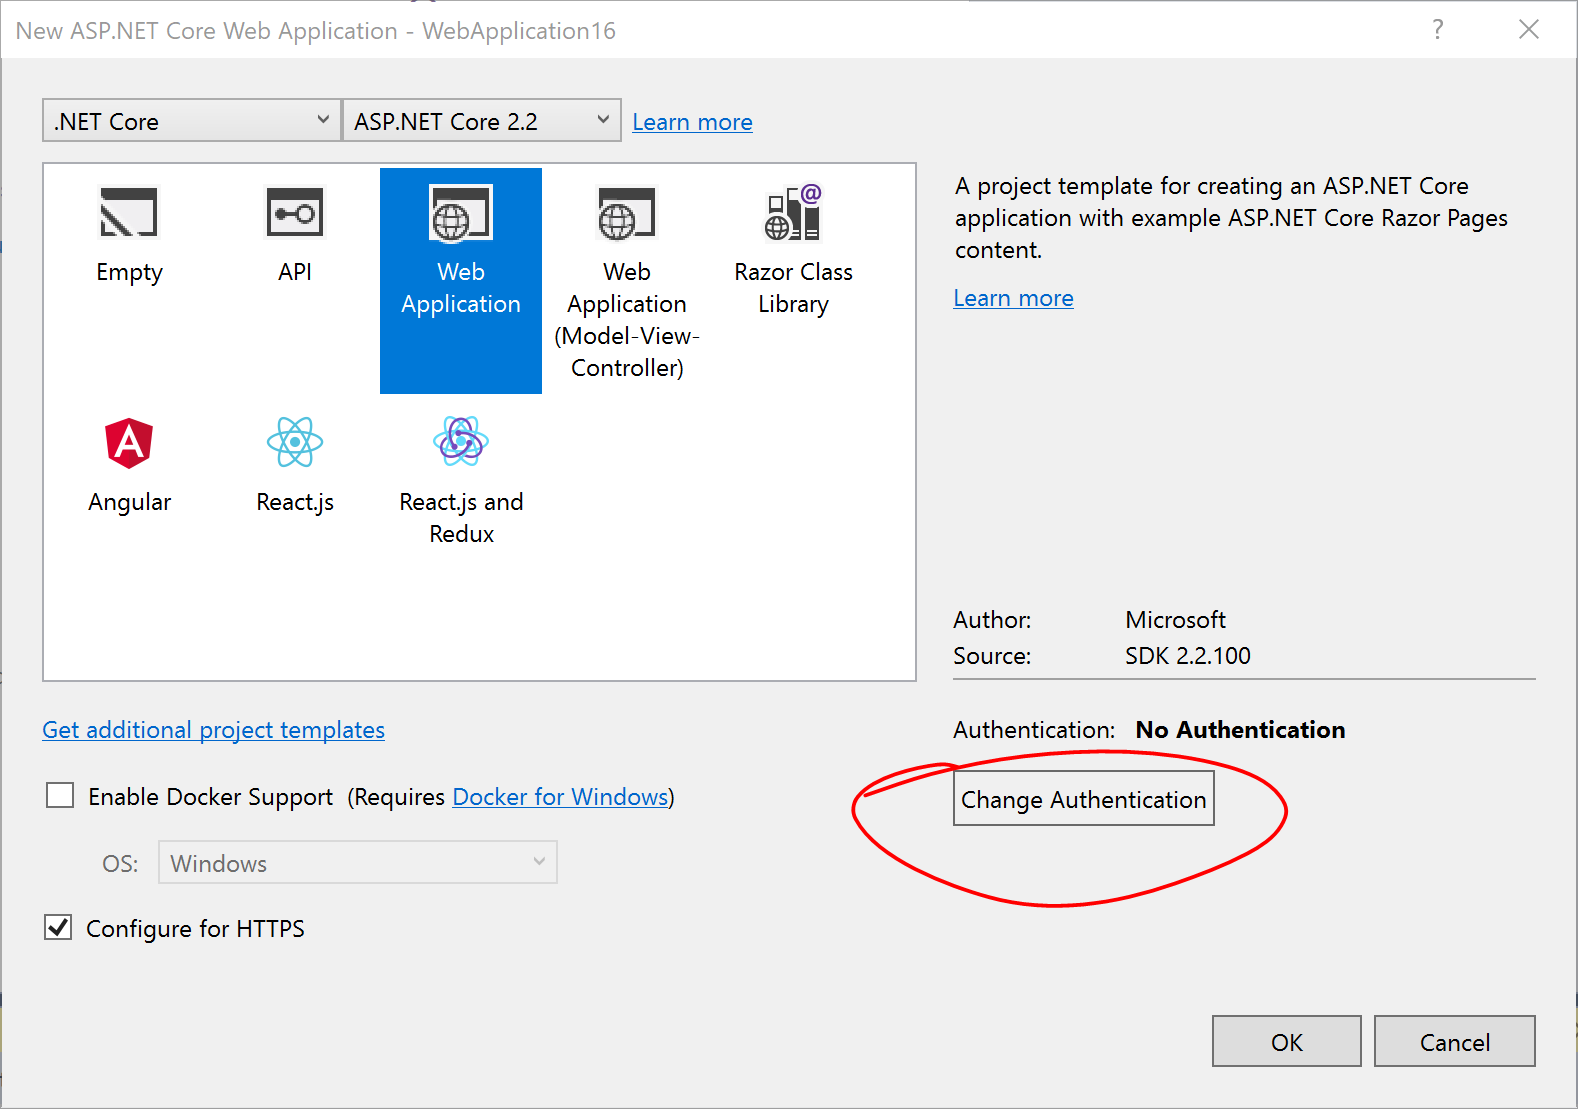
In other words, you can use this approach for a quick test or demo, as shown in the screenshots below for Visual Studio.
- Right-click your ASP .NET Core web app project in Solution Explorer and select Publish.
- Click the Start button on the screen that appears and follow the onscreen instructions.
- Ensure that you’re logged in to the correct Azure subscription account you want to publish to.
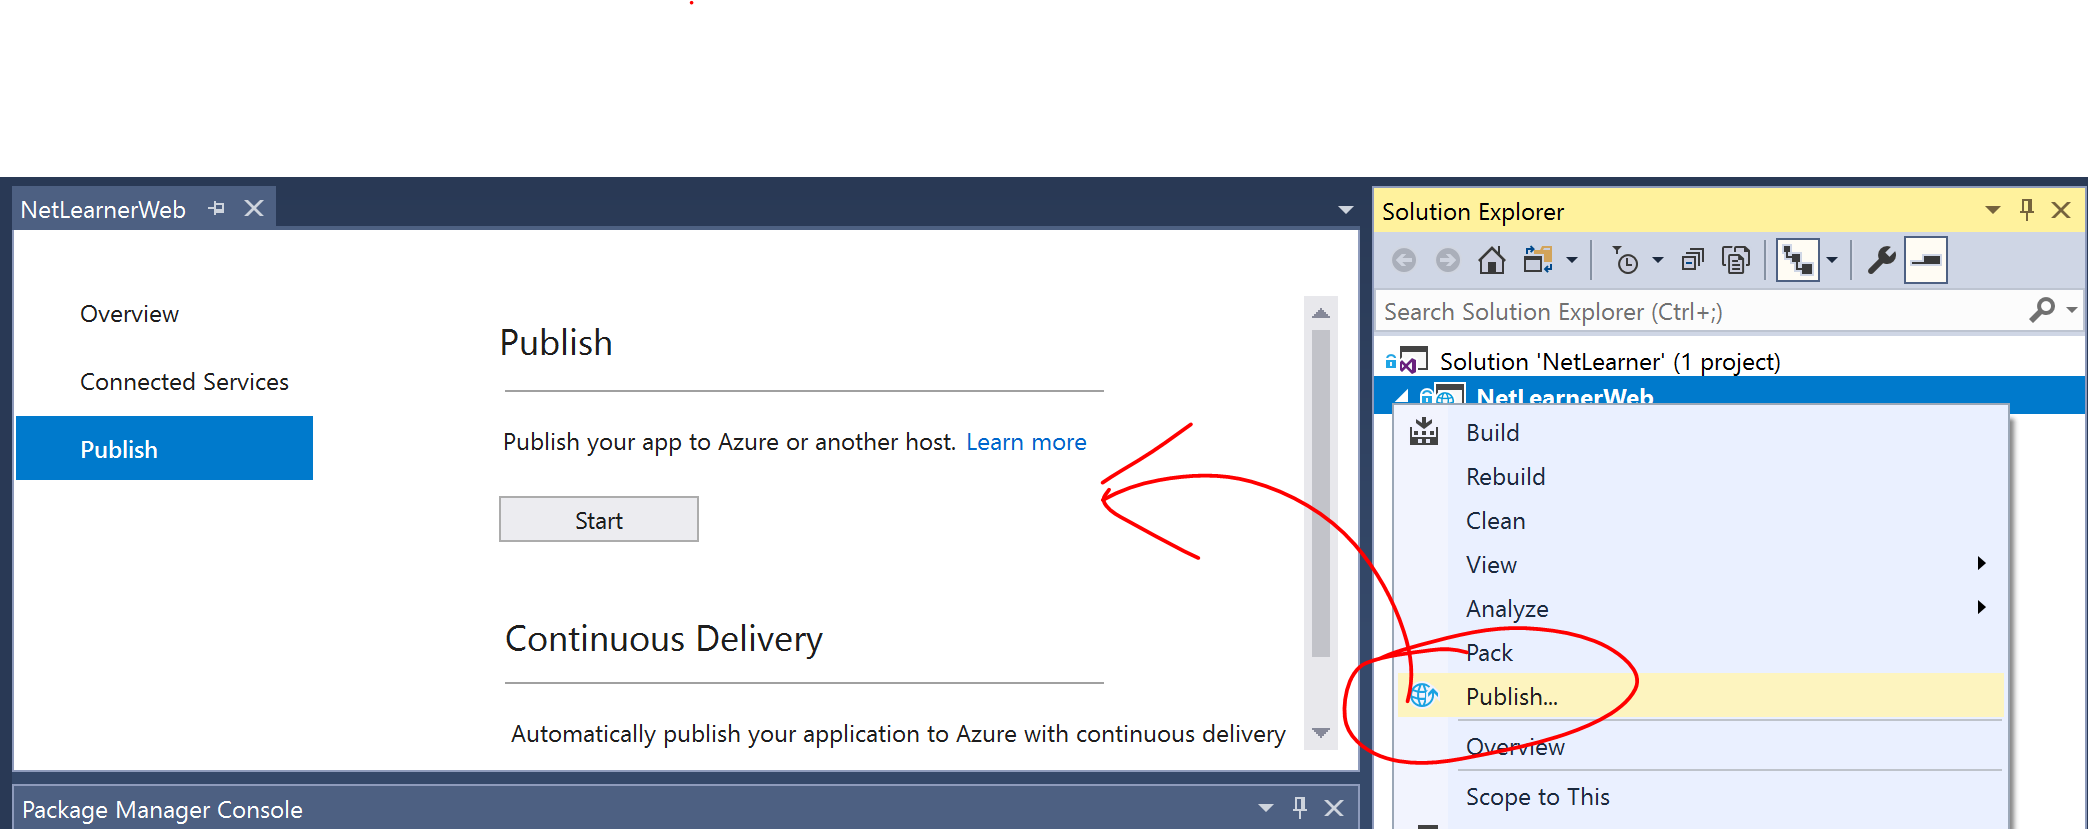
Right-click Publish your project from Solution Explorer
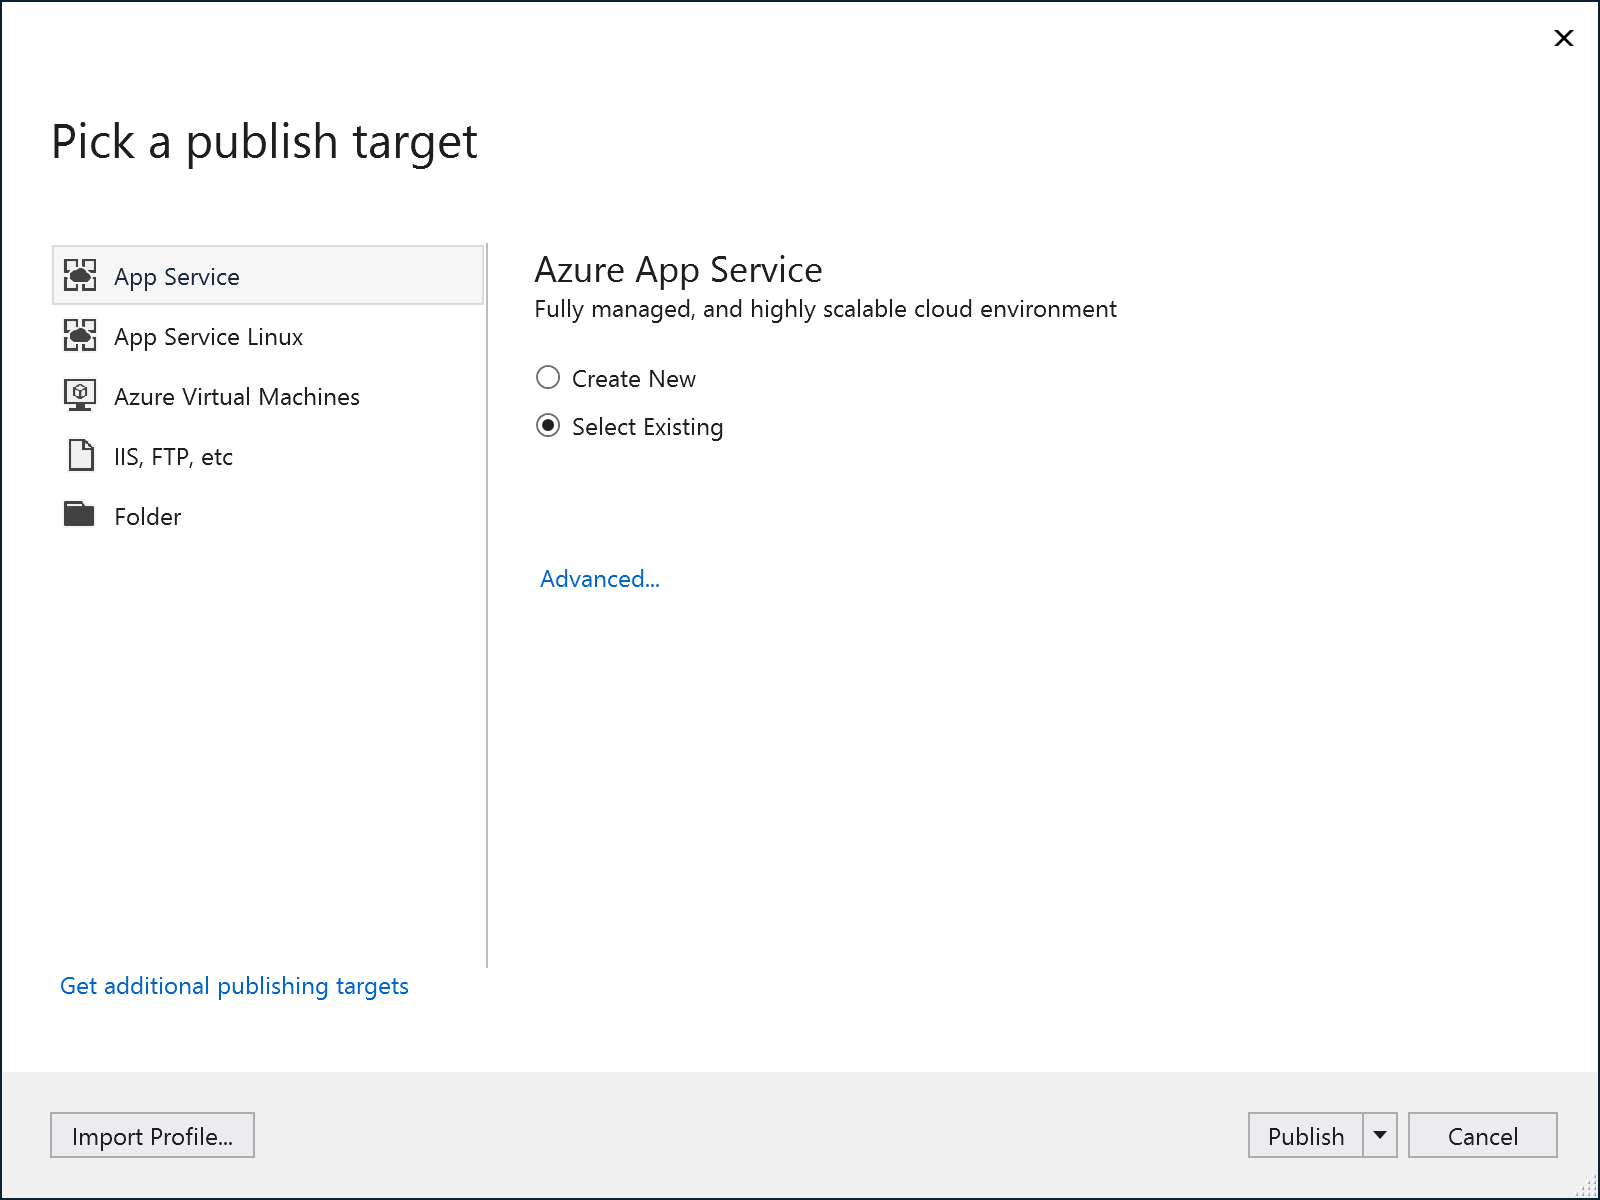
Follow the onscreen instructions