This is the thirteenth of a series of posts on ASP .NET Core in 2019. In this series, we’ll cover 26 topics over a span of 26 weeks from January through June 2019, titled A-Z of ASP .NET Core!
 A – Z of ASP .NET Core!
In this Article:
- M is for Middleware in ASP .NET Core
- How It Works
- Built-in Middleware
- Branching out with Run, Map & Use
- References
M is for Middleware in ASP .NET Core
If you’ve been following my blog series (or if you’ve done any work with ASP .NET Core at all), you’ve already worked with the Middleware pipeline. When you create a new project using one of the built-in templates, your project is already supplied with a few calls to add/configure middleware services and then use them. This is accomplished by adding the calls to the Startup.cs configuration methods.
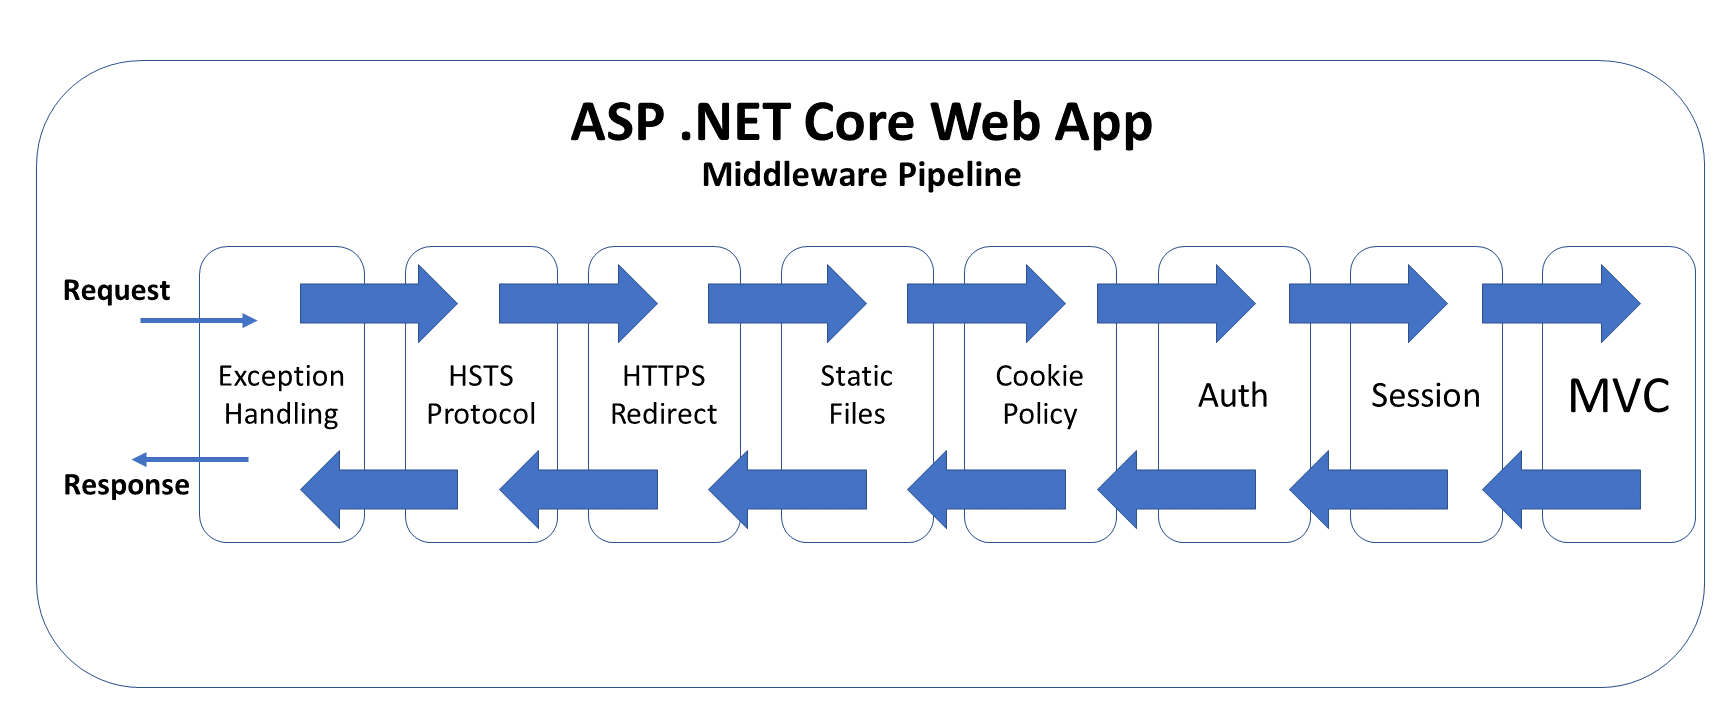
The above diagram illustrates the typical order of middleware layers in an ASP .NET Core web application. The order is very important, so it is necessary to understand the placement of each request delegate in the pipeline.
To follow along, take a look at the sample project on Github:
![]() Middleware Sample: https://github.com/shahedc/AspNetCoreMiddlewareSample
Middleware Sample: https://github.com/shahedc/AspNetCoreMiddlewareSample
How It Works
When an HTTP request comes in, the first request delegate handles that request. It can either pass the request down to the next in line or short-circuit the pipeline by preventing the request from propagating further. This is use very useful across multiple scenarios, e.g. serving static files without the need for authentication, handling exceptions before anything else, etc.
The returned response travels back in the reverse direction back through the pipeline. This allows each component to run code both times: when the request arrives and also when the response is on its way out.
Here’s what the Configure() method looks like, in a template-generated Startup.cs file:
public void Configure(IApplicationBuilder app, IHostingEnvironment env)
{
    if (env.IsDevelopment())
    {
        app.UseDeveloperExceptionPage();
        app.UseDatabaseErrorPage();
    }
    else
    {
        app.UseExceptionHandler("/Home/Error");
        app.UseHsts();
    }

    app.UseHttpsRedirection();
    app.UseStaticFiles();
    app.UseCookiePolicy();

    app.UseAuthentication();

    app.UseSession();

    app.UseMvc(routes =>
    {
        routes.MapRoute(
            name: "default",
            template: "{controller=Home}/{action=Index}/{id?}");
    });
}
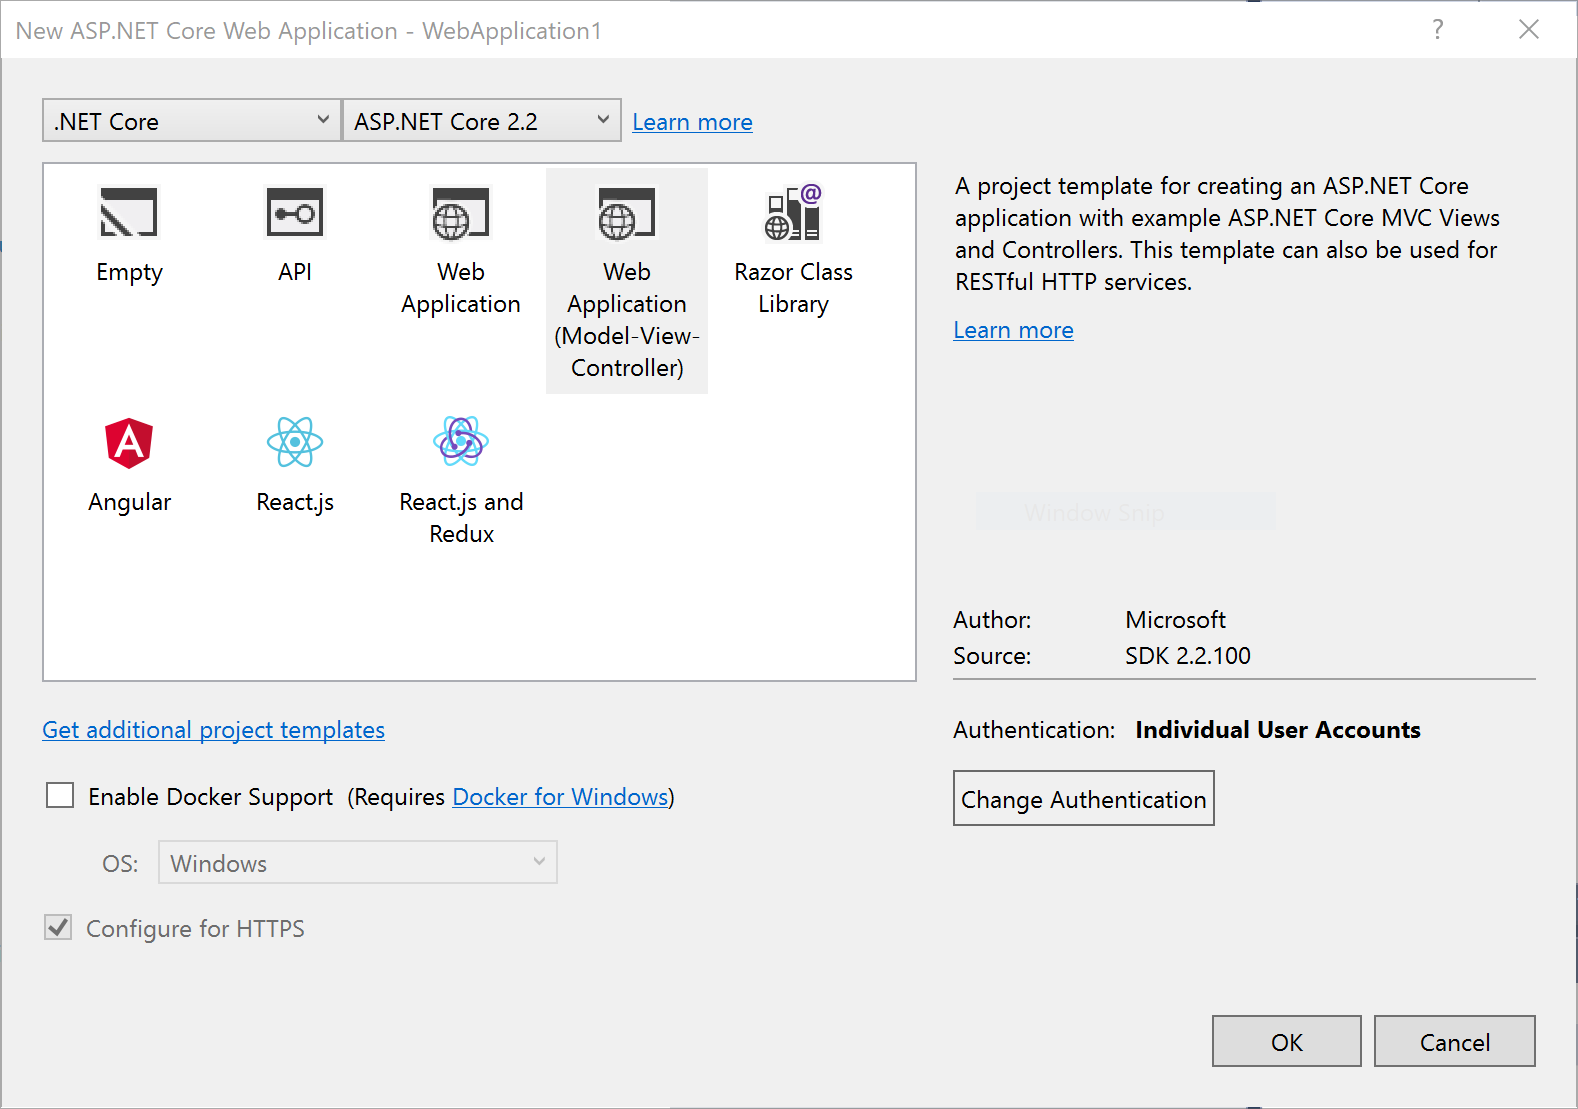
I have added a call to UseSession() to call the Session Middleware, as it wasn’t included in the template-generated project. I also enabled authentication and HTTPS when creating the template.
In order to configure the use of the Session middleware, I also had to add the following code in my ConfigureServices() method:
public void ConfigureServices(IServiceCollection services)
{
...
    services.AddDistributedMemoryCache();
    services.AddSession(options =>
    {
        options.IdleTimeout = TimeSpan.FromSeconds(10);
        options.Cookie.HttpOnly = true;
        options.Cookie.IsEssential = true;
    });

    services.AddMvc();

...

}
The calls to AddDistributedMemoryCache() and AddSession() ensure that we have enabled a (memory cache) backing store for the session and then prepared the Session middleware for use. In the Razor Pages version of Startup.cs, the Configure() method is a little simpler, as it doesn’t need to set up MVC routes for controllers in the call to useMvc().
Built-In Middleware
The information below explains how the built-in middleware works, and why the order is important. The UseXYZ() methods are merely extension methods that are prefixed with the word “Use” as a useful convention, making it easy to discover Middleware components when typing code. Keep this in mind mind when developing custom middleware.
Exception Handling:
- UseDeveloperExceptionPage() & UseDatabaseErrorPage(): used in development to catch run-time exceptions
- UseExceptionHandler(): used in production for run-time exceptions
Calling these methods first ensures that exceptions are caught in any of the middleware components that follow. For more information, check out the detailed post on Handling Errors in ASP .NET Core, earlier in this series.
HSTS & HTTPS Redirection:
- UseHsts(): used in production to enable HSTS (HTTP Strict Transport Security Protocol) and enforce HTTPS.
- UseHttpsRedirection(): forces HTTP calls to automatically redirect to equivalent HTTPS addresses.
Calling these methods next ensure that HTTPS can be enforced before resources are served from a web browser. For more information, check out the detailed post on Protocols in ASP .NET Core: HTTPS and HTTP/2.
Static Files:
- UseStaticFiles(): used to enable static files, such as HTML, JavaScript, CSS and graphics files. Called early on to avoid the need for authentication, session or MVC middleware.
Calling this before authentication ensures that static files can be served quickly without unnecessarily triggering authentication middleware. For more information, check out the detailed post on JavaScript, CSS, HTML & Other Static Files in ASP .NET Core.
Cookie Policy:
- UseCookiePolicy(): used to enforce cookie policy and display GDPR-friendly messaging
Calling this before the next set of middleware ensures that the calls that follow can make use of cookies if consented. For more information, check out the detailed post on Cookies and Consent in ASP .NET Core.
Authentication, Authorization & Sessions:
- UseAuthentication(): used to enable authentication and then subsequently allow authorization.
- UseSession(): manually added to the Startup file to enable the Session middleware.
Calling these after cookie authentication (but before the MVC middleware) ensures that cookies can be issued as necessary and that the user can be authenticated before the MVC engine kicks in. For more information, check out the detailed post on Authentication & Authorization in ASP .NET Core.
MVC & Routing:
- UseMvc(): enables the use of MVC in your web application, with the ability to customize routes for your MVC application and set other options.
- routes.MapRoute(): set the default route and any custom routes when using MVC.
To create your own custom middleware, check out the official docs at:
- Write custom ASP.NET Core middleware: https://docs.microsoft.com/en-us/aspnet/core/fundamentals/middleware/write
Branching out with Run, Map & Use
The so-called “request delegates” are made possible with the implementation of three types of extension methods:
- Run: enables short-circuiting with a terminal middleware delegate
- Map: allows branching of the pipeline path
- Use: call the next desired middleware delegate
If you’ve tried out the absolute basic example of an ASP .NET Core application (generated from the Empty template), you may have seen the following syntax in your Startup.cs file. Here, the app.Run() method terminates the pipeline, so you wouldn’t add any additional middleware calls after it.
public void Configure(IApplicationBuilder app, IHostingEnvironment env)
{
    ...
    app.Run(async (context) =>
    {
        await context.Response.WriteAsync("Hello World!");
    });
}
The call to app.Use() can be used to trigger the next middleware component with a call to next.Invoke() as shown below:
public void Configure(IApplicationBuilder app)
{
    app.Use(async (context, next) =>
    {
        // ...
        await next.Invoke();
        // ...
    });

    app.Run(...);
}
If there is no call to next.Invoke(), then it essentially short-circuits the middleware pipeline. Finally, there is the Map() method, which creates separate forked paths/branches for your middleware pipeline and multiple terminating ends. The code snippet below shows the contents of a Startup.cs file with mapped branches:
// first branch handler
private static void HandleBranch1(IApplicationBuilder app)
{
    app.Run(async context =>
    {
        await context.Response.WriteAsync("Branch 1.");
    });
}

// second branch handler
private static void HandleBranch2(IApplicationBuilder app)
{
    app.Run(async context =>
    {
        await context.Response.WriteAsync("Branch 2.");
    });
}

public void Configure(IApplicationBuilder app)
{
    app.Map("/mappedBranch1", HandleBranch1);

    app.Map("/mappedBranch2", HandleBranch2);

    // default terminating Run() method
    app.Run(async context =>
    {
        await context.Response.WriteAsync("Terminating Run() method.");
    });
}
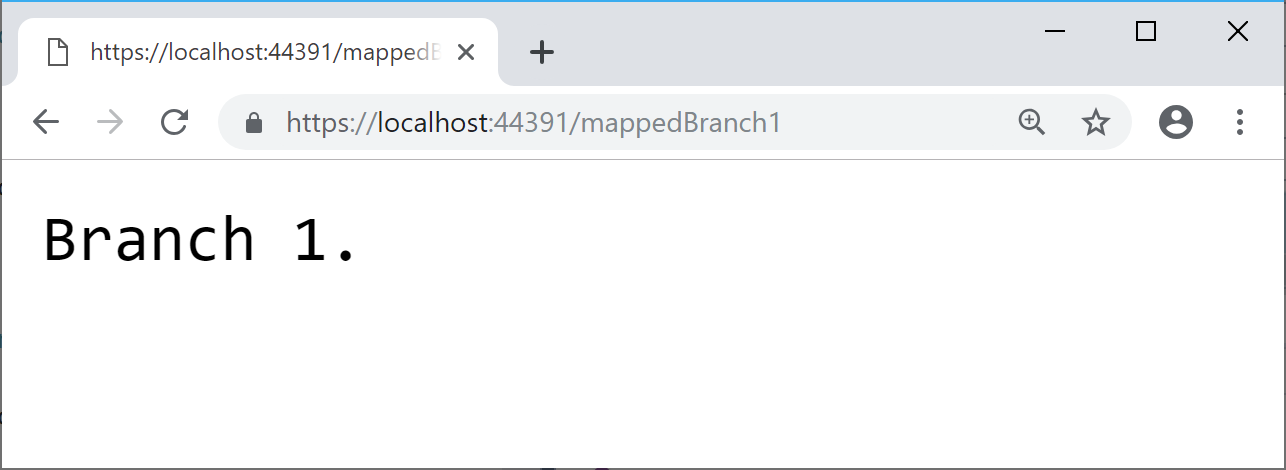
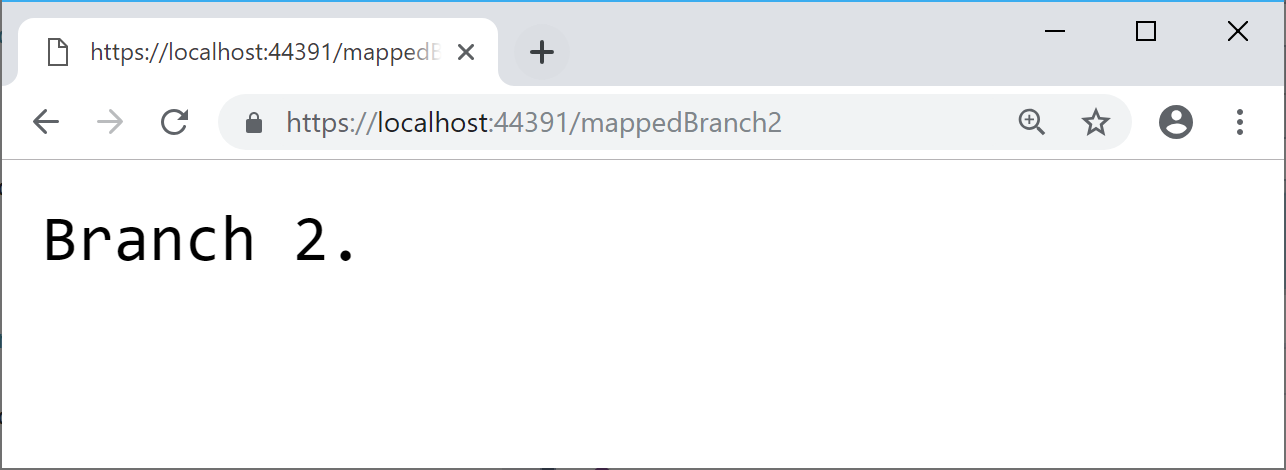
In the Configure() method, each call to app.Map() establishes a separate branch that can be triggered with the appropriate relative path. Each handler method then contains its own terminating map.Run() method.
For example:
- accessing /mappedBranch1 in an HTTP request will call HandleBranch1()
- accessing /mappedBranch2 in an HTTP request will call HandleBranch2()
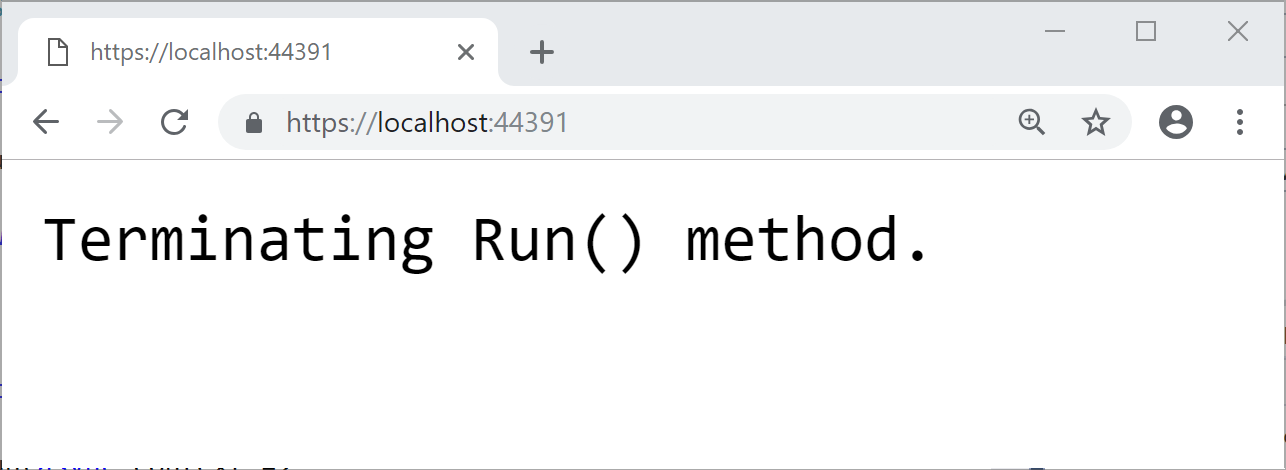
- accessing the / root of the web application will call the default terminating Run() method
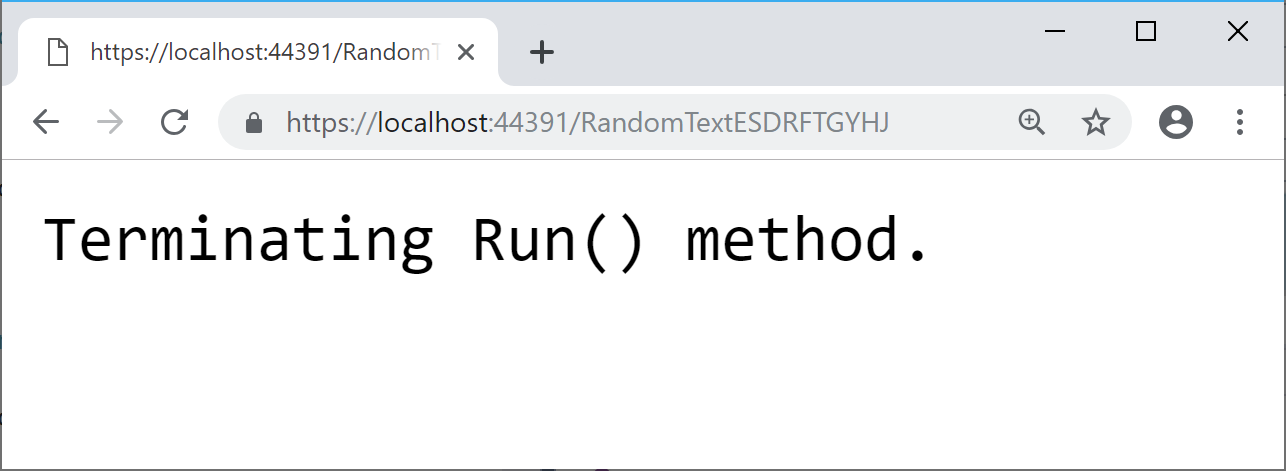
- specifying an invalid path will also call the default Run() method
The screenshots below illustrate the results of the above scenarios:
Scenario 1: https://localhost:44391/mappedBranch1
Scenario 2: https://localhost:44391/mappedBranch2
Scenario 3: https://localhost:44391/
Scenario 4: https://localhost:44391/RandomTextESDRFTGYHJ
References
- ASP.NET Core Middleware: https://docs.microsoft.com/en-us/aspnet/core/fundamentals/middleware
- Write custom ASP.NET Core middleware: https://docs.microsoft.com/en-us/aspnet/core/fundamentals/middleware/write
- Session and app state in ASP.NET Core: https://docs.microsoft.com/en-us/aspnet/core/fundamentals/app-state
Hope you enjoyed learning about Middleware in ASP.NET Core. Here is some feedback I received via Twitter: “Learned so [much] about #ASPNetCore middleware from this article. The templates should have comments in them with this stuff!”
Learned so mich about #ASPNetCore middleware fro. This article. The templates should have comments in them with this stuff! https://t.co/0au87iDjHl
— Sturla Þorvaldsson (@SturlaThorvalds) April 7, 2019
Pingback: Dew Drop – April 4, 2019 (#2932) | Morning Dew
Pingback: The Morning Brew - Chris Alcock » The Morning Brew #2720
Pingback: Organizational Accounts for ASP .NET Core | Wake Up And Code!