This is the second of a new series of posts on ASP .NET Core for 2019. In this series, we’ll cover 26 topics over a span of 26 weeks from January through June 2019, titled A-Z of ASP .NET Core!
 A – Z of ASP .NET Core!
In this Article:
B is for Blazor
In a previous post, I covered various types of Pages that you will see when developing ASP .NET Core web applications. In this article, we will take a look at a Blazor sample and see how it works. Blazor (Browser + Razor) is an experimental .NET web framework which allows you to write full-stack C# .NET web applications that run in a web browser, using WebAssembly.
NOTE: Server-slide Blazor (aka Razor Components) allows you to run your Blazor app on the server, while using SignalR for the connection to the client, but we will focus on client-only Blazor in this article.
To get started by yourself, follow the official instructions to set up your development environment and then build your first app. In the meantime, you may download the sample code from my GitHub repo.
 Blazor projects on GitHub: https://github.com/shahedc/BlazorDemos
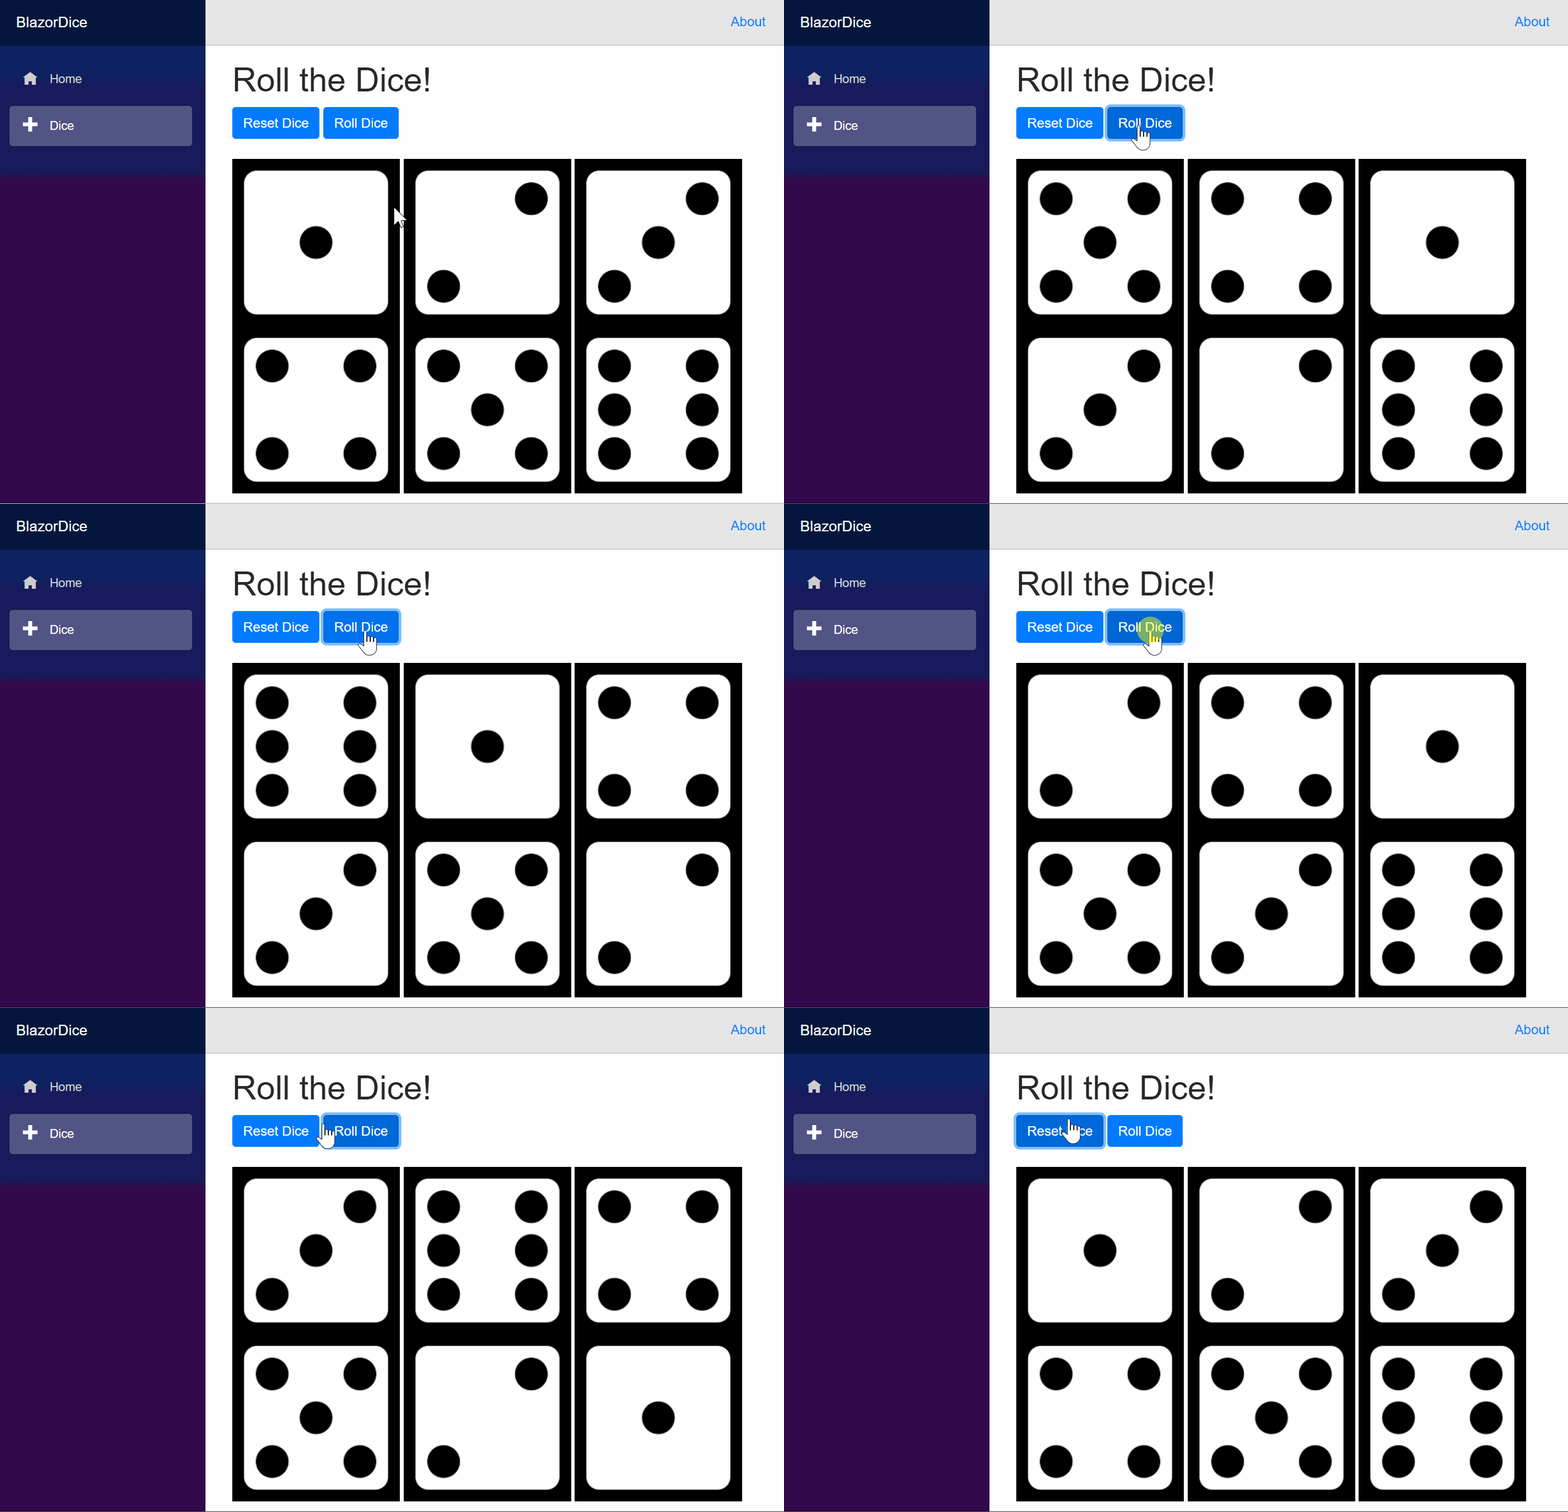
Specifically, take a look at the Blazor Dice project, which you can use to generate random numbers using dice graphics. The GIF below illustrates the web app in action!
Entry Point and Configuration
Let’s start with Program.cs, the entry point of your application. Just like any ASP .NET Core web application, there is a Main method that sets up the entry point. A quick call to CreateHostBuilder() in the same file ensures that two things will happen: The Blazor Web Assembly Host will call its own CreateDefaultBuilder() method (similar to how it works in a typical ASP .NET Core web application) and it will also call UseBlazorStartup() to identify the Startup class where the application is configured.
public class Program
{
   public static void Main(string[] args)
   {
      CreateHostBuilder(args).Build().Run();
   }

   public static IWebAssemblyHostBuilder CreateHostBuilder(string[] args) =>
      BlazorWebAssemblyHost.CreateDefaultBuilder()
      .UseBlazorStartup<Startup>();
}
Note that the Startup class doesn’t have to be called Startup, but you do have to tell your application what it’s called. In the Startup.cs file, you will see the familiar ConfigureServices() and Configure() methods, but you won’t need any of the regular MVC-related lines of code that set up the HTTP pipeline for an MVC (or Razor Pages) application. Instead, you just need a minimum of 1 line of code that adds the client side “App”. (This is different for server-hosted apps.)
public class Startup
{
   public void ConfigureServices(IServiceCollection services)
   {
   }

   public void Configure(IBlazorApplicationBuilder app)
   {
      app.AddComponent<App>("app");
   }
}
Note that the Configure() method takes in an app object of type IBlazorApplicationBuilder, unlike the usual IApplicationBuilder we see in regular ASP .NET Core web apps. When it adds the App component, it specifies the client-side app with the name “app” in double quotes.
UPDATE: In the above statement, I’m referring to “app” as “the client-side app”. In the comments section, I explained to a reader (Jeff) how this refers to the HTML element in index.html, one of the 3 locations where you would have to change the name if you want to rename it. Another reader (Issac) pointed out that “app” should be described as “a DOM Element Selector Identifier for the element” in that HTML file, which Angular developers should also recognize. Issac is correct, as it refers to the <app> element in the index.html file.
NAME CHANGES: Issac also pointed out that “IBlazorApplicationBuilder has already become IComponentsApplicationBuilder”. This refers to recent name changes on Jan 18, 2019. I will periodically make changes to the articles and code samples in this series. In the meantime, please refer to the following GitHub commit:
NOTE: There is an App.cshtml file in the project root that specifies the AppAssembly as a temporary measure, but the app config in this file is expected to move to Program.cs at a future date.
Continue reading →
 A – Z of ASP .NET Core!